Category: Blog
-
How to Write an Effective About Us Page
The About Us page is one of the most visited sections of any website—and one of the most underestimated. A compelling story, a human touch, and clear communication are all key to transforming a casual visitor into a potential client. In this article, you’ll discover how to write the About Us page, how to structure it, which visual elements to use, and…
Written by

-
Gmail scam alert: fake tech support trick is stealing your recovery codes
Phishing emails and fake Google calls are compromising accounts—here’s how the scam works and how to stay safe
Written by

-
APT41: when espionage becomes business
The Chinese hacker group turning every vulnerability into an attack opportunity In the vast ecosystem of advanced cyber threats, APT41 stands out not only for its longevity but also for its unique ability to blend state-sponsored espionage with profit-driven cybercrime. Known by names such as Wicked Panda, Earth Baku, or Bronze Atlas, this fluid entity represents a new type of threat: hybrid…
Written by

-
The file wp-config.php already exists? Clear Aruba cache
When WordPress works… but only on your computer You’ve just installed WordPress on a brand new domain. The backend works: plugins install, pages load, content saves, and everything seems just fine. But when you try to open the site from a smartphone or another device, an error message appears. Something like this: “The file wp-config.php already exists.…
Written by

-
UI Design: cos’è e come si fa?
In this article, we’ll explore what User Interface Design (UI Design) is, why it’s crucial to the success of a digital product, and how it differs from User Experience Design (UX Design). We’ll also look at the fundamental principles of creating intuitive, accessible, and aesthetically pleasing interfaces. What is User Interface (UI) Design? (In-Depth with…
Written by

-
How ChatGPT is rewriting digital marketing rules
With generative AI on the rise, winning mentions is now the key to online brand visibility The silent shift: people are shopping through ChatGPT We’re no longer just searching—we’re talking. More and more consumers are shopping by chatting with large language models like ChatGPT, forcing digital marketers to evolve. Say goodbye to SEO-only tactics and hello…
Written by

-
Google revamps AdSense: auto optimization now customizable per site
The latest update from Mountain View gives publishers greater control over advertising experiments and a more flexible interface A major shift in experiment management for publishers Google has announced a significant update to the auto optimization feature in AdSense, following widespread requests from publishers seeking more control over advertising experiments. The tech giant confirmed that the update will roll…
Written by

-
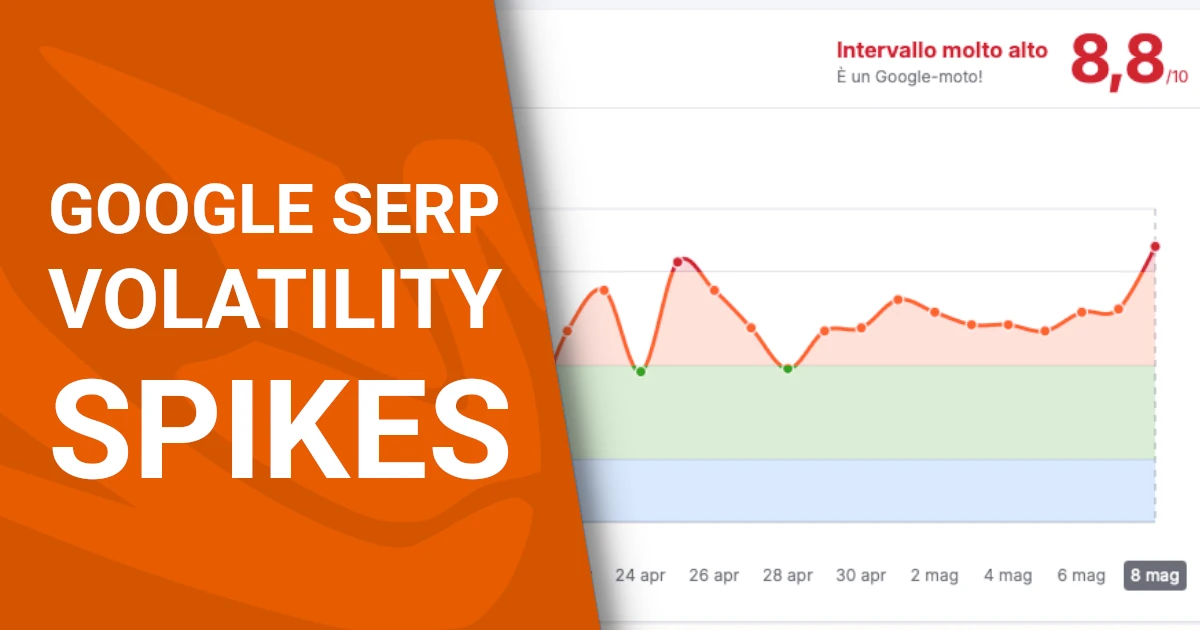
Google SERP Volatility Spikes – May 2025
After weeks of relative calm, Google Search rankings saw a significant spike in volatility on May 8, 2025, initially in the United States and then spreading to Italy on May 9. In this article, we break down what’s happening in the SERPs using data from tools like Semrush, and explain what it means for your SEO strategy right now. May 8:…
Written by
-
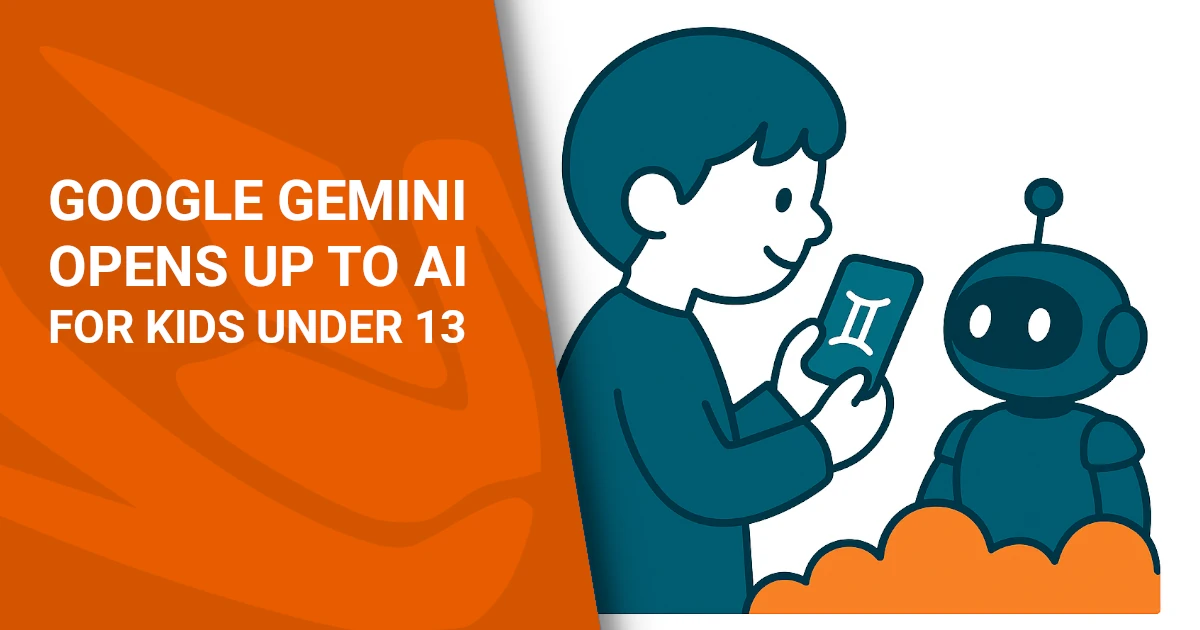
Google’s Gemini AI now open to kids under 13 – but experts raise red flags
Parental controls and educational promises meet growing fears over privacy and mental health risks for children. Gemini for kids may sound like progress, but the balance between educational support and safeguarding mental well-being is fragile. The AI-child relationship deserves a closer look — before it’s too late. A kid-friendly AI? Google has opened access to its Gemini chatbot to users under the age…
Written by